We go to step 2 in our product editor which deals with checkout page design. You can choose either 1-step or mult-step. Choose from a wide range of templates and use drag and drop to quickly make a good looking page. Add some testimonials to make your page really stand out.
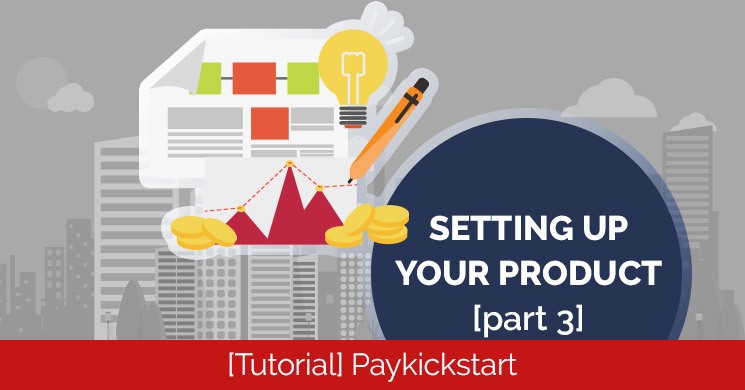
Setting Up Your Product [Part 3] Training Video
We are back to editing our products and this time we are going to take an in-depth look at step 2 in the product editor. This is mainly the checkout page design and code/embeds displayed on the page.
Checkout Pages
1 Step vs Multi-Step
1-Step allows all the fields to appear on one page whereas Multi-step does the capture process in multiple steps. i.e. Name and email can be separate from shipping and or contact details etc.
1 Step
Select one of the templates provided and then scroll down to check if the template you selected triggered new fields. Most templates use the product image field. If it has you may drop in your product image, with the recommended size of 300x425px.
The next new field is testimonials. If you want to fill in this field you can click on the + Add button and create as many testimonials as you require. It has a drag and drop option for images as well as a text field in which you can copy/paste your testimonial information.
Custom fields allow you to display a field with a title and the field type can be either text, number, dropdown or checkbox. This field can display under “personal information”, “billing” or “shipping details”. If you do chose to display it under billing or shipping details you would need to enable the fields in your product setup.
The exit-intent popup can also be enabled.
Hit Save and then click on the OPEN EDITOR button.
Open Editor
A page editor is available on the left hand side of the page and your current page template will be displayed on the right.
You are able to dynamically make changes to the page text as you would in a standard text document.
You can also choose to “show” or “hide” various options e.g. testimonial block or footer
The builder is quite flexible and I would recommend playing with the various options to achieve the look and design you want.
When you are ready to proceed click on “save” at the top of the builder menu (top left) and you are good to go with your checkout page.
Cloning
A really great feature is that if you have products that use the same template as one you have previously designed you may clone it onto another product. You do this by selecting your product and instead of selecting 1-Step or Multi Step at the checkout page you can instead use clone existing product and select the product you used for the design.
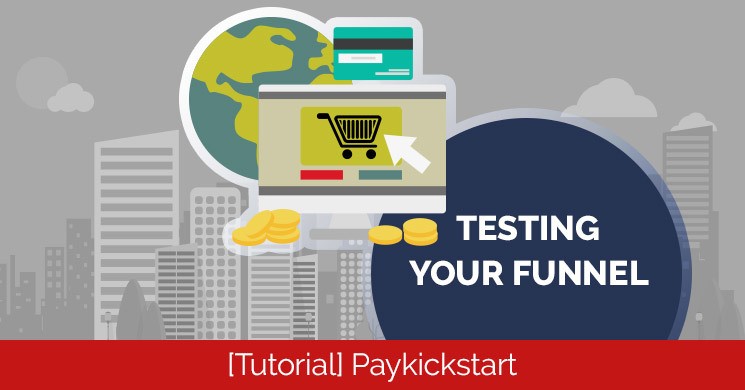
The next video talks about how to setup your sales funnel in Paykickstart.